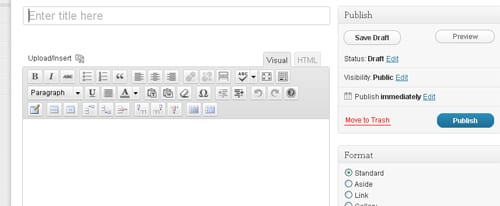
 A post is a type of web page. Posts appear on your blog front page in date order, so when you create and publish a new one, it will appear at the top of the page, unless there are other posts that are “sticky”, in which case your new post will appear under any sticky posts.
Here is how to do it:
1. Open the Dashboard
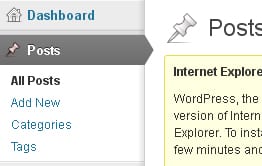
2. Click on [Posts] on the left hand menu, then click on [Add New]
 3. You will now see the Add New Post page – where you can create your post by giving it a title and entering text. This is the page you will be visiting the most often to update your blog.
4. Type in a title where it says [Enter title here].
5. Type or paste your text content in the blank box. If this is the first time you have created a post, explore the icons above the box.
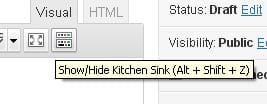
These work very much like a word processor, allowing a range of formatting options, such as bold, underline etc. (If you can’t see all the icons you see here, click on the last one, called the “show / hide kitchen sink” to reveal them all.)
6. If you are pasting from Word it’s best to use the Paste From Word ![]() icon, to keep the formatting of your theme. When you click on this icon a new window opens, where you can paste your text and click on [Insert] to insert it.
icon, to keep the formatting of your theme. When you click on this icon a new window opens, where you can paste your text and click on [Insert] to insert it.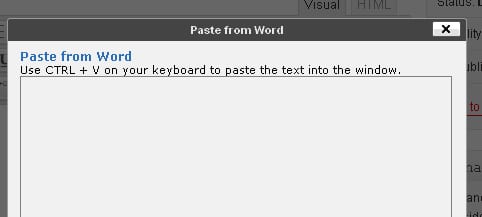
7. Save your work! WordPress will autosave your post from time to time, but you should also save your work as you go. My advice is to save your post as a draft as many times as you like, and only when you are happy for others to read it, publish it.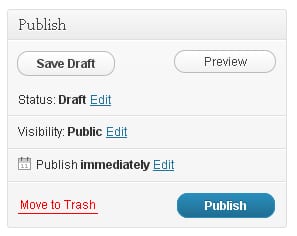
8. Advice: Each time you save your post as a draft, it’s best to preview it, to see exactly how it will look when you publish it. Wait a few seconds after your save, then click on [Preview post] which you will see above the text box. It will turn red when the save is complete. Use your browser’s [Back] button to get back to your Add New Post screen.
 What next? You might want to add a picture, or a video clip, or an audio clip.
