 Tags are another way to help readers navigate to your posts, using keywords. Every time you create or edit a post you can add existing or new tags to it.
These tags will appear with your post, so that if the reader clicks on a particular tag, a list of all other posts tagged with that keyword will appear. If you have administration rights, you can also set up the blog so that the most used tags are displayed in a “cloud” on the sidebar, using the Tags widget.
You may decide to use tags in a formal way, like categories. If so, they provide a way to see how many posts use the same tag. Unlike categories though, tags are best added when you’re writing a post as they are meant to indicate keywords from what you’ve just written. As well as providing navigation, tags are valuable because they help search engines understand what your content is really about. For that reason alone, you should always tag your posts.
There are two ways to add tags:
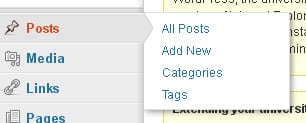
a) You can check existing tags and add new tags from the left hand dashboard menu:
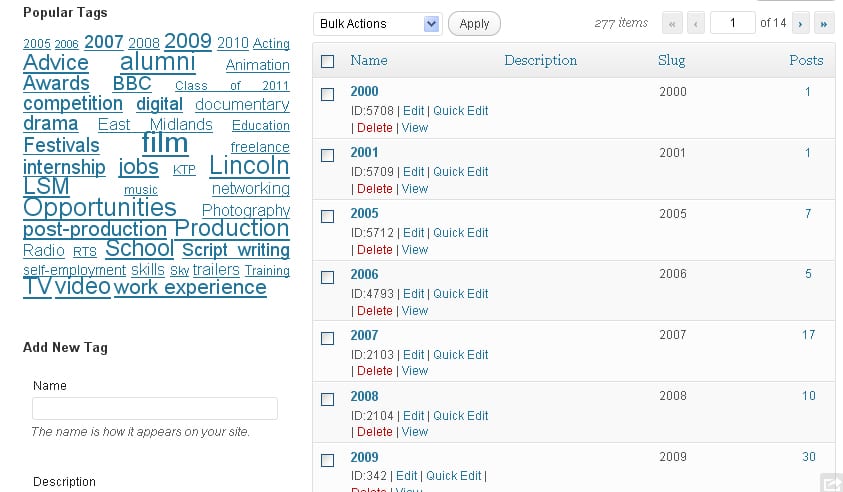
 If you click on [Tags] you will see the Tags page.
 You can see existing tags, and view or delete them here.
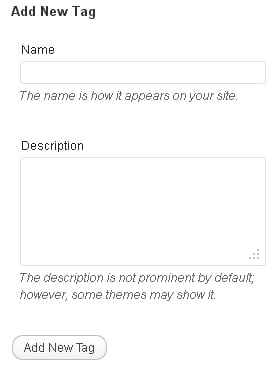
To add a new tag, type it in the [Name] field and then save by clicking on the [Add New Tag] button:
b) A much better and simpler way to add tags to a post is as you create or edit the post itself:
1. From the Dashboard, go to the Add New Post or Edit Post dashboard page.
2. Create or edit your post
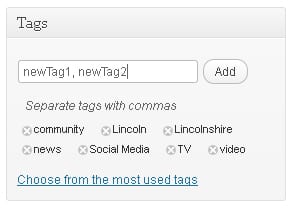
3. Type or paste one or more new tags from your text content in the [Add] field on the Tags panel on the right hand dashboard column, beneath the Categories panel. Make sure you use commas to separate new tags.
 As you type here, you may see a drop-down list of similar existing tags. Double click to add one. You can also select existing tags by double-clicking on the [Choose from the most used tags] link.
Remember to preview, save or update your post!
