 If you want your readers to be able to find any post or page, a menu is a must. Lots of blogs do not have a menu, but their aims may be different from ours. I think it is good to have as many ways for our readers to find stories as possible, including the Search box, tags and external search engines like Google.
In WordPress, you can build a top-level menu which enables readers to find posts (listed by category), pages and links. However, it’s perhaps not a good idea to have too many items on your top-level menu, as this can be quite confusing. I tend to restrict myself to one line across the page.
Where your menu appears and how it looks depends on what theme you are using. In this theme, the top-level menu appears at the top of every page or post. Before you start building you own menu, explore either this one, or the LSM alumni blog. You will notice that some menu items will take you directly to a page, and others will bring up posts listed by category. You will also notice that some category items lead to sub-menus.
NB: The screenshots I am using here are from the LSM Alumni blog, so they show the boxes filled in.
So here is how to build your menu.
1. Go to the dashboard
2. Select [Appearance], then [Menus] from the left hand menu.
![Click on [Menus]](https://alumnidevelopment.blogs.lincoln.ac.uk/files/2012/03/menus_appearance.jpg) When you click on [Menus] you will go to the Menus page.
When you click on [Menus] you will go to the Menus page.

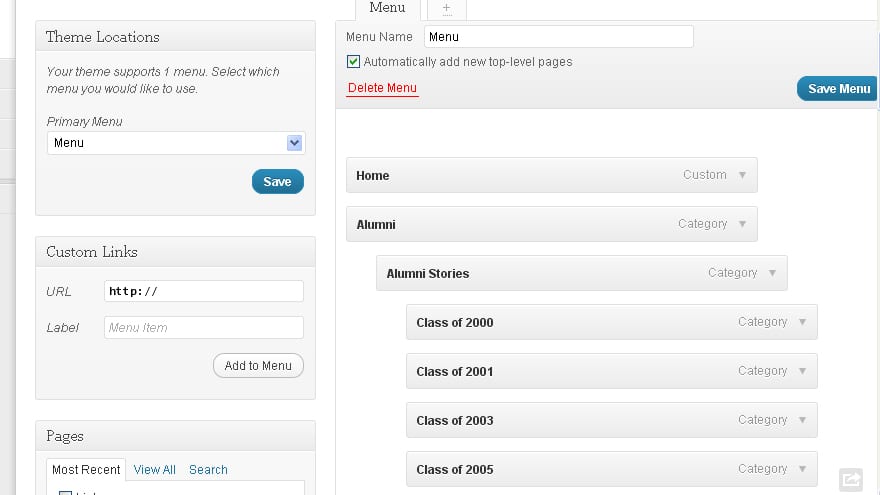
This screen shot shows the top half of the menus dashboard page. Spend some time exploring it. I have found it to be the most complicated dashboard page to use.
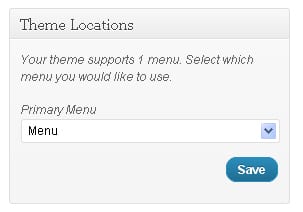
3. Let’s now look at the panels down the left hand side. First there is a panel called Theme Locations.
 This shows you how many menus are supported by your current theme – in this case just the one. So you can see I have called my menu “menu”, and I have saved it. You must save your menu, or it will not appear.
My advice is, save it every time you make a change.
The next panel down allows you to put links on the menu, but I am not going into it now, because I do not put links here. And that’s because they make the menu too complicated, and I think links work better on the sidebar. It’s pretty obvious how it works, so if you do want a link or two up there, you should have no problem.
4. Now let’s look at how add pages to your menu. The simplest way is to make sure that any new page you create is automatically added to the menu. (You can easily remove a page later.) So go to the top of the right-hand side of the menus page and look for this panel called [Menu]. Then and tick the option called [Automatically add new top level pages]. You must then save your menu. Now go back to the left hand side of the page and find the [Pages] panel.
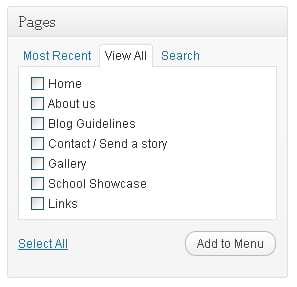
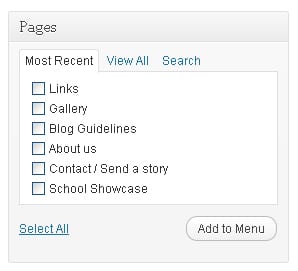
This panel defaults to the most recently created pages, so if you want to see all the pages you have created, click on [View all]
 In this case it looks much the same because there are only a few pages on this blog.
If you can’t see any pages at all, that’s probably because you have not ticked the [automatically add new pages] option. Remember to keep saving the menu every time you make a change. (I told you it was complicated!)
I think that’s enough for now. If you want to add categories to your menu and manage lower level menus, go to Part 2.

