 This post follows on from Part 1.
Adding categories to your menu is important because it allows your readers to find posts without trawling through them in date order. In order to add them, they have to exist, so unless you have already created some categories and assigned them to posts, they will not be listed on the Menus dashboard page.
Assuming you have done this, here is how you add them:
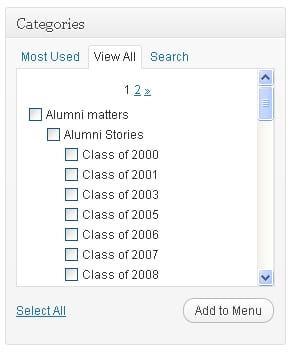
1. On the Menus dashboard page, locate the [Categories] panel, at the bottom of the left-hand side, and click on [View all]:
 Notice that the hierarchy of categories you created earlier is reflected in the display here. You cannot create a new category here, just add them to your menu. Tick any new category and click on [Add to Menu], then be sure to save the menu again.
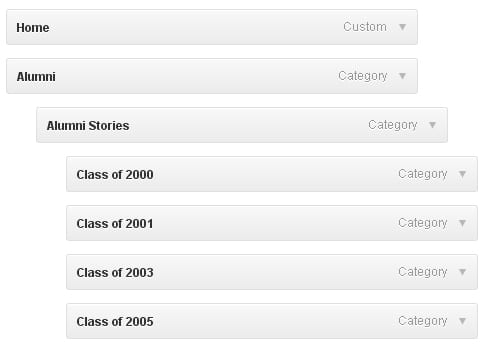
2. As you add categories, you will see them appear on the right-hand side of the page, which represents the menu hierarchy. By default they will appear on the left of the list, under the last entry.
The hierarchy is not created automatically, so to create it, you have drag and drop each category where you want it to appear. 
The left-hand column represents the top level, as it will appear on your top-level menu. If you drag a category one column to the right, it becomes a child category of the top-level parent category above it. If you drag it once more to the right, it becomes a grandchild – and so on. So the menu represented here looks to the reader like this:
When you have finished dragging and dropping categories, save the menu!

